Learning to teach robotics 3
In this post I’ll go through the iterations of our technical setup. Fundamentally, I think there are three components to a course like this one: electrical engineering, mechanical engineering, and software engineering. You don’t necessarily need to actually teach all of them together, but you definitely need to provide the students with a platform for each of those components. Here’s what we tried.
Electrical engineering
On the microcontroller side we stuck with Arduino. Yes, it’s not the most powerful option available. But it has an absolutely enormous community, meaning easy access to all imaginable libraries and a lot of information if (ok, when) problems arise.
From the beginning I was - still am - reluctant to proprietary closed systems like micro:bit, makeblock or Lego. First, they are simply expensive. Second, they work really nice if you use the standard components but implementing something custom cat get increasingly tricky. With Arduino, on the other hand, you can use pretty much any sensor or actuator available. Most likely, there already is a community-developed library for it.
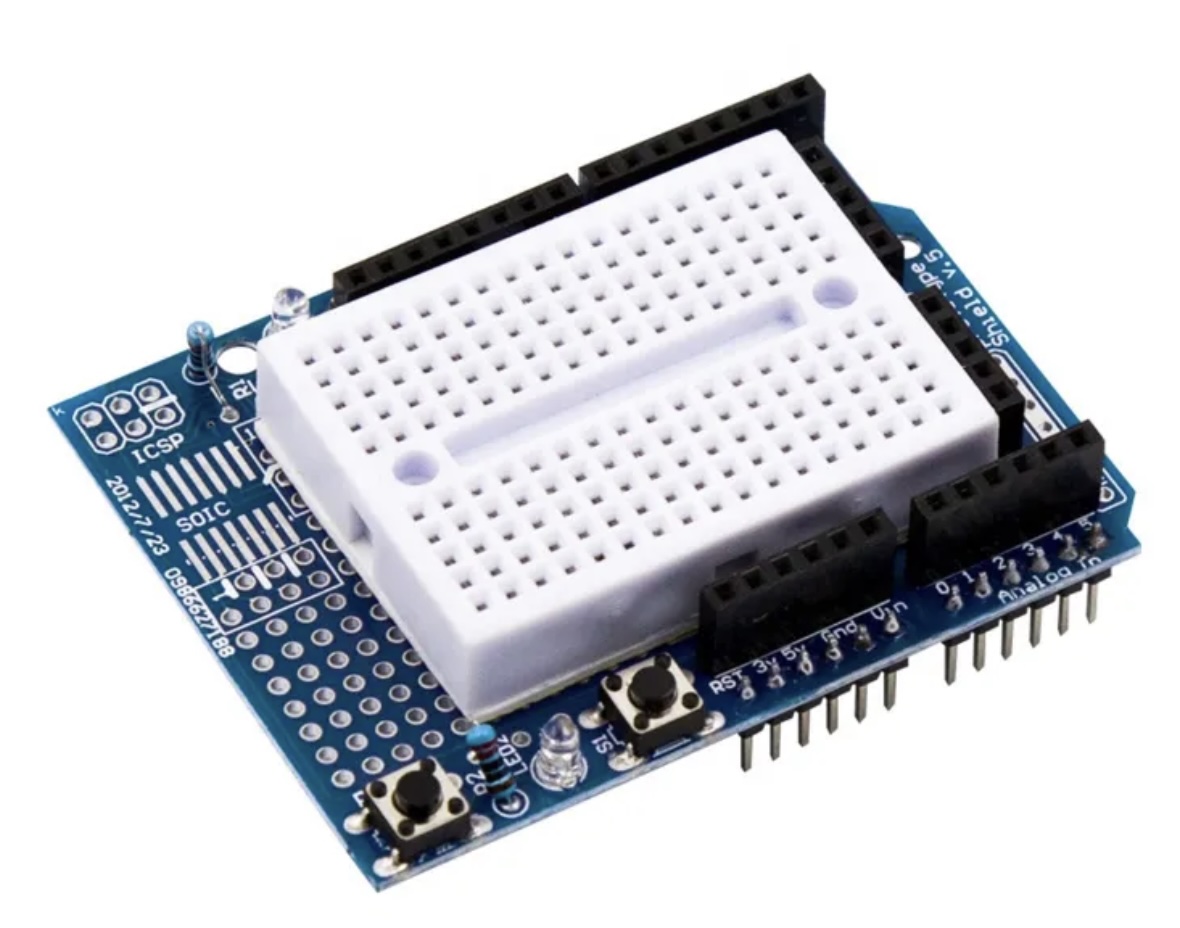
There are also numerous shields one can get. We only used the most basic one for prototyping.

It provides multiple GND/5V outputs for connecting several external components, and has a space for a small breadboard. This simple setup turned out to be sufficient for powering pretty advanced projects. The only downside was a wireframe spaghetti when you connect too much stuff at the same time. The best solution we found for this was in fact designing our own shield - but this is a topic for a later post.
Mechanical engineering
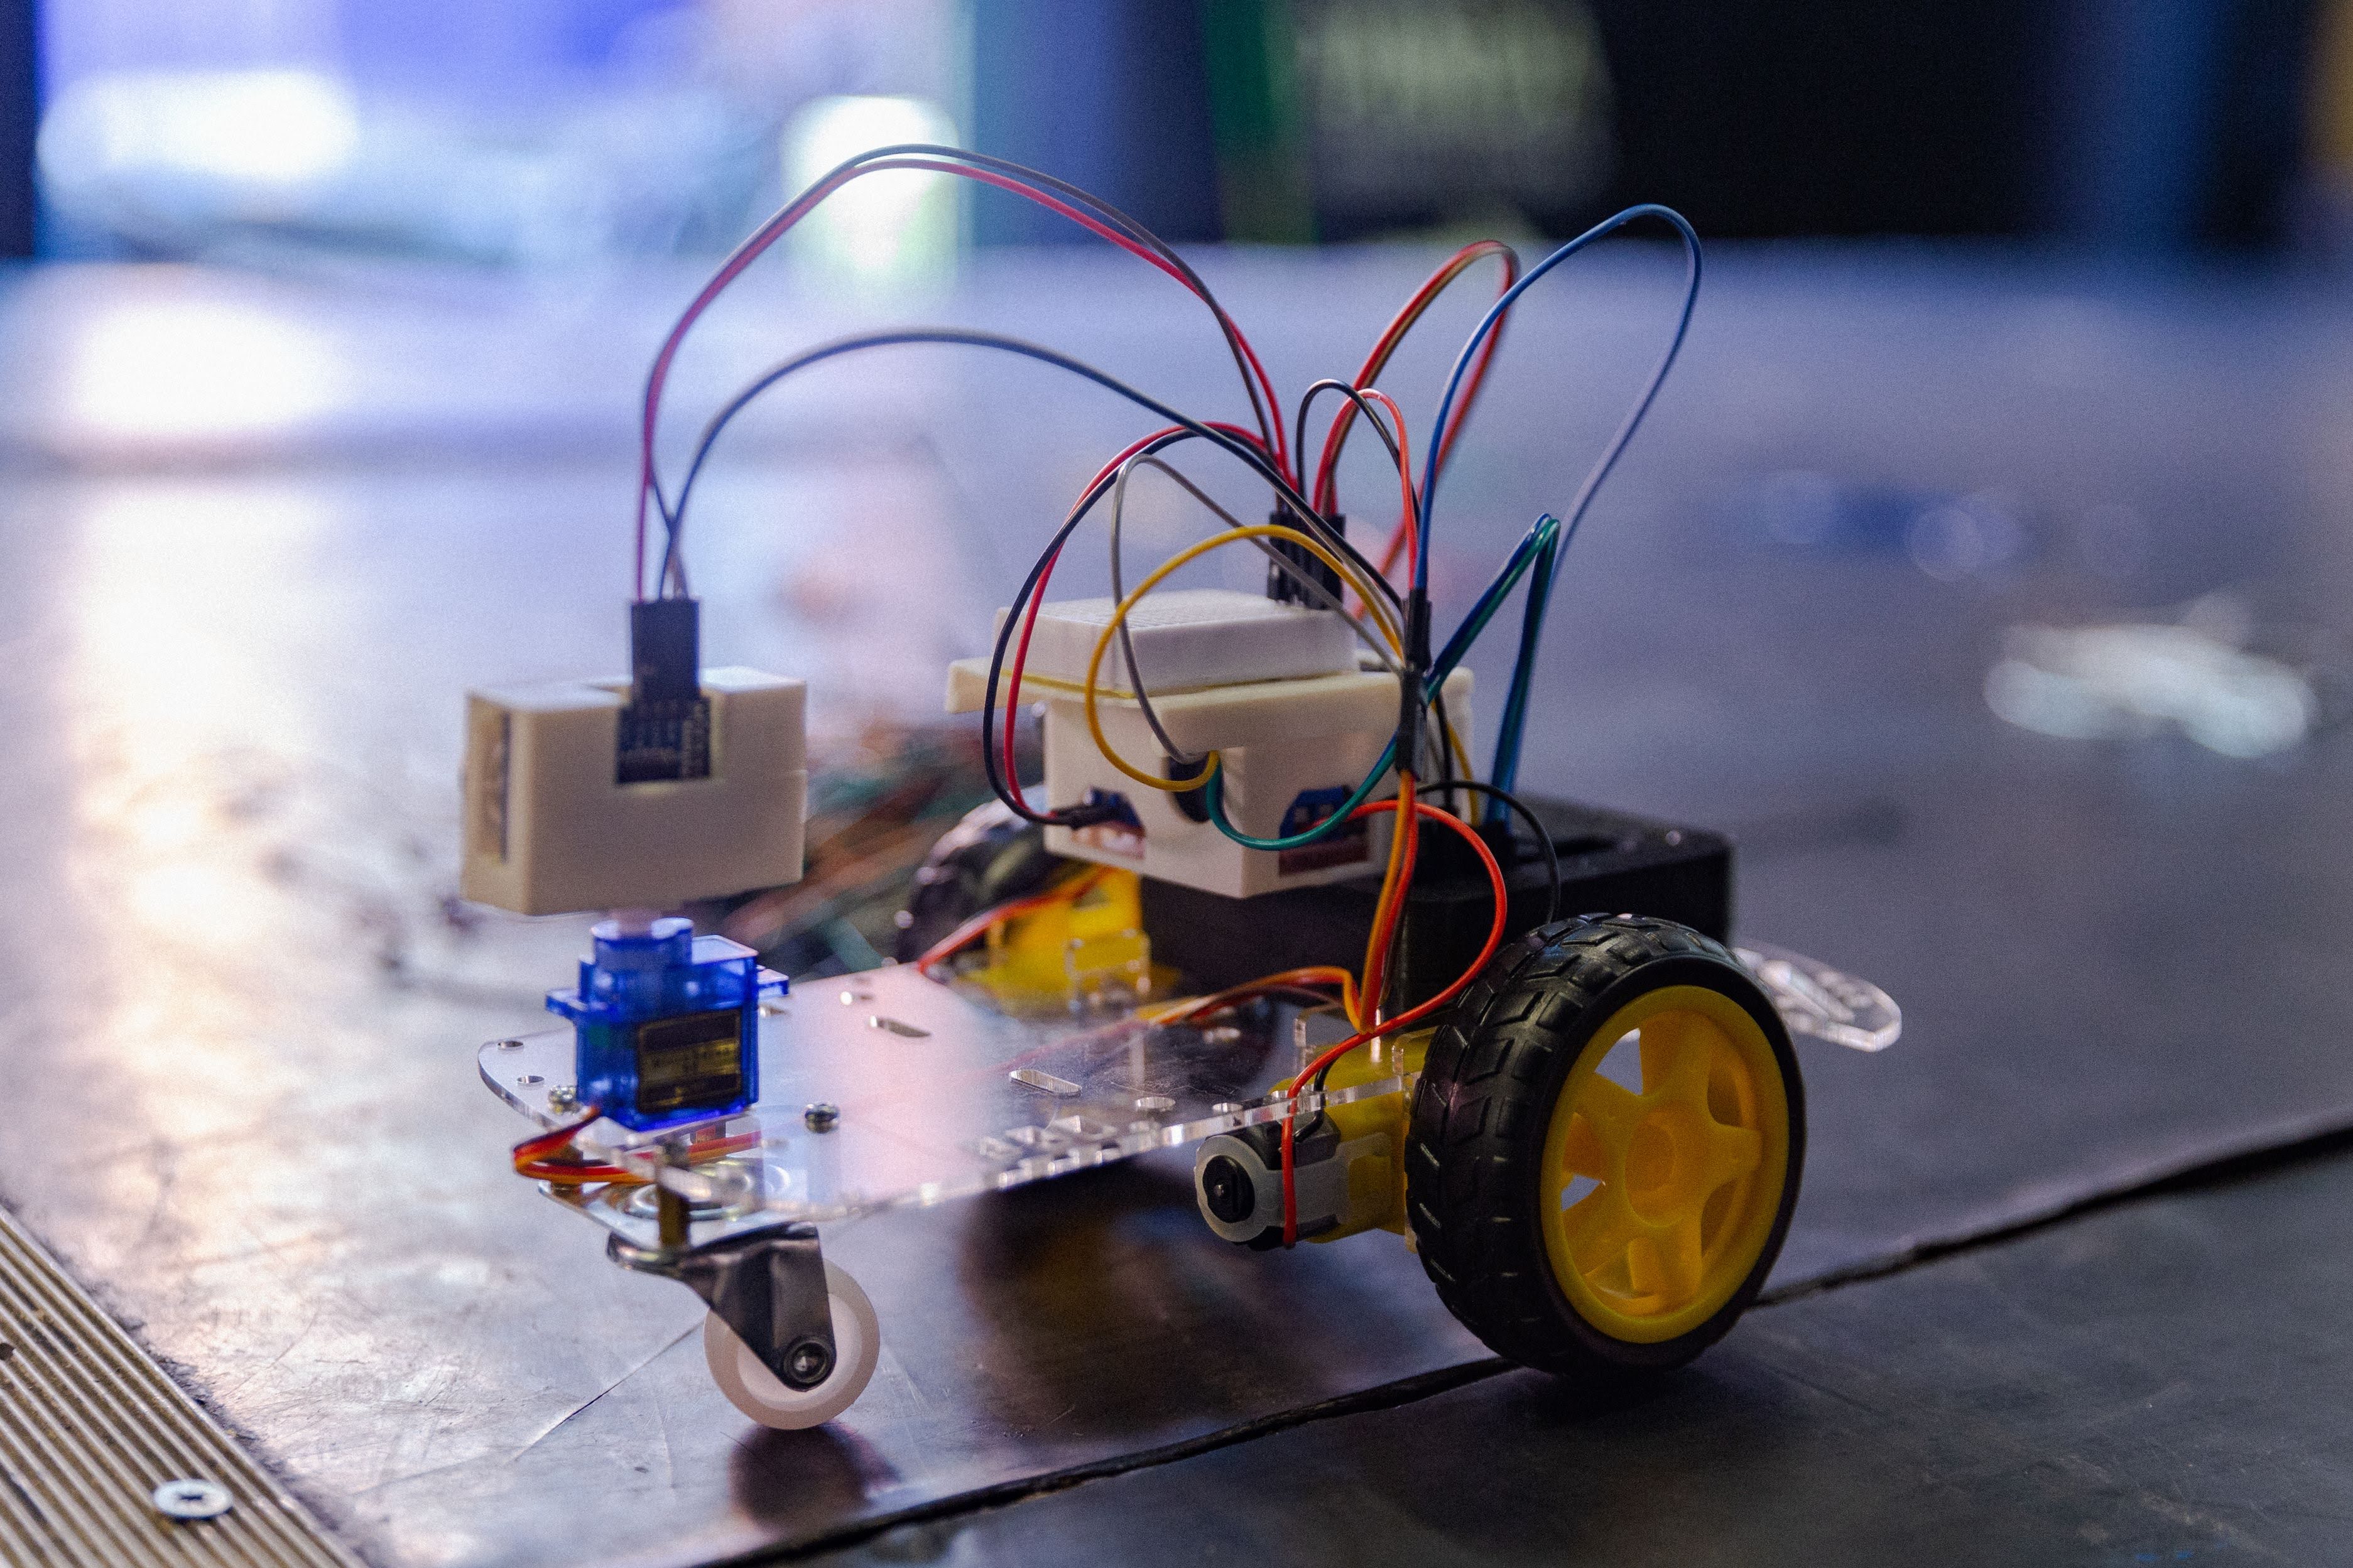
Our initial wheeled platform was obviously not good enough. It was not even a platform yet, rather just a collection of basic electronic components and a couple of 3D-printed plastic boxes one could glue together and put on a wheeled chassis.

We definitely needed more - so we tried the SMARS.
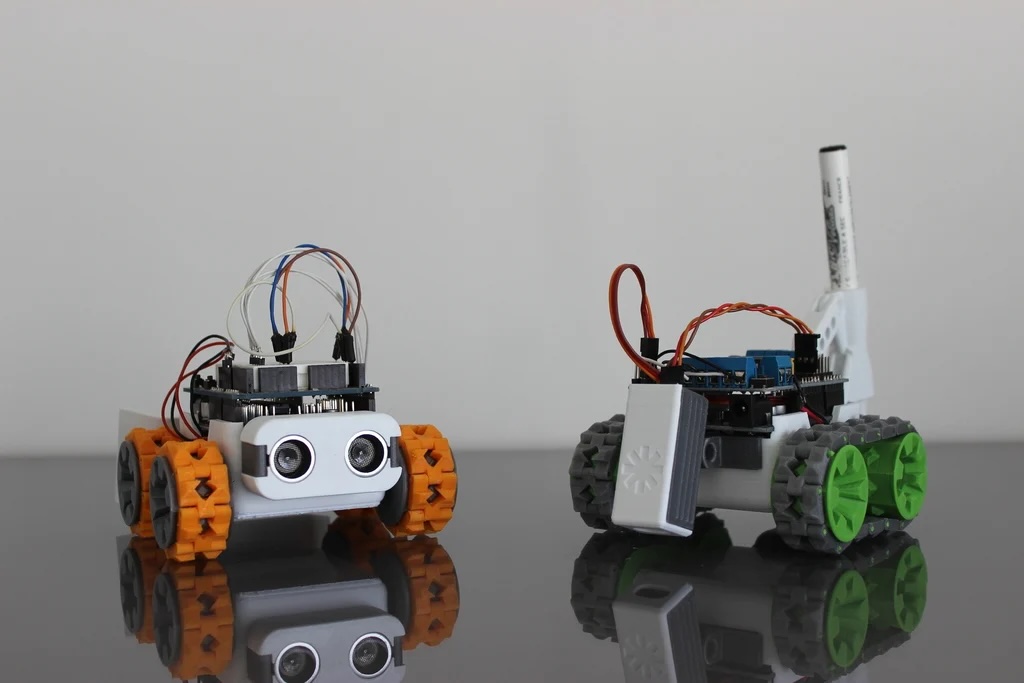
SMARS is a cute little modular 3D-printable robot. In its basic configuration it has a four-wheeled chassis with tracks and two extension mounting slots. A small but dedicated enthusiast community around it designed some nice extensions: from basics like a sonar or an infrared sensor mount to quite fancy stuff like a servo-driven pen holder and a motorized forklift.

In the first half of the course the SMARS worked reasonably well. Every session the kids would take a different hardware module, mount it and solve some coding exercises with it. For the projects in the second half, however, it proved to be quite limited. With its two extension mounting slots it simply did not provide enough flexibility for the young engineers’ ambitious ideas.
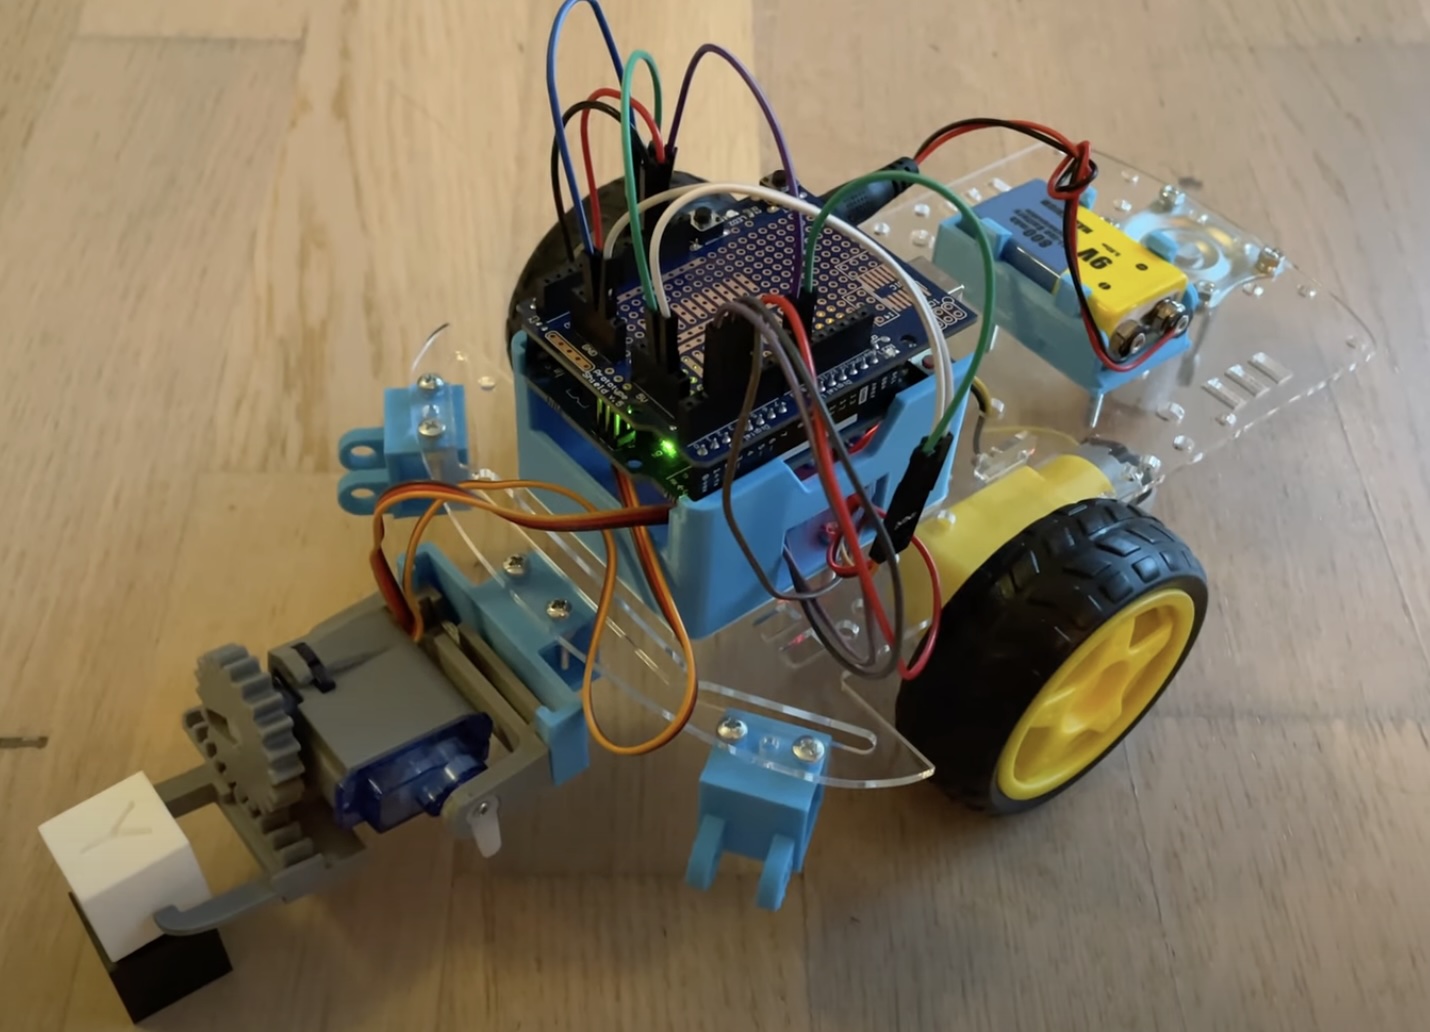
So in the next stream I combined the SMARS with the original wheeled chassis and called it a LOCORover. I designed a couple of SMARS-compatible extension holders one could screw to the chassis, remixed the base and voila - the number of components one could put together in a project instantly increased.
The nice part about it was the SMARS compatibility. One did not need to design all extensions from scratch, the existing ones worked out of the box. Overall, I’m pretty happy with this version of the platform. It did not have a perfect balance and the 3D-printed parts sometimes broke but it got the job done.
The only fundamental limitation we faced was that it was a rover. Some kids wanted to have robots that were entirely different. That’s when I found STEMFIE and I could not be more excited. I’m still testing it so it’s definitely a topic for a later post but the results look very promising so far.
Software engineering
Programming environment selection for Arduino is easy if you are using C - you just go to the official website and download Arduino IDE. Our first four streams were for kids who had no idea about programming, starting with C was definitely an overkill.
So it had to be block programming. Problem is, all Arduino-compatible IDEs for block programming I could find were somehow impaired. We started off with OttoBlockly, which was ok but messy. It had a lot of blocks which used random libraries under the hood. This sometimes meant that certain block combinations would not compile for an unknown reason. With some digging and modifying the library code you could usually get it to work but this was not a pleasant experience. The biggest problem was that if some blocks were missing, there was no easy way to add them. Yeah, one probably could recompile the entire IDE (though I failed when I tried) but again, this was not nice.
Because of this, after two streams we switched to mBlock. This is a coding environment behind the mBot robots, which luckily supports multiple different microcontrollers and, most importantly, custom block creation. You can design your own extensions (i.e., block libraries) using their online editor. This works as follows. You upload your custom C libraries (as many of them as you want) into this editor, and then specify which functions should be called by which blocks. It’s not the prettiest piece of software but it works alright.
There are a couple of annoying bits though. If you want to open a previously saved program, the extension version in your IDE has to exactly match the one that was used to save the program in the first place. Otherwise it does not work. Even if the blocks have not changed between the versions. This is ok when your extension is stable and does not change often but was really a problem for us, since we were developing it as we went, adding features every week. Also, something as basic as a serial monitor is not available in mBlock.
To this day I haven’t found a better solution. Fundamentally, we need an open-source extensible blockly-based IDE. One could develop it from scratch of course but that’s a pretty big project, not something one can do over a single weekend.
